Installing WordPress is one of the most exciting milestones in your blogging journey because it transforms your idea into a real website. Although the process may seem technical at first, most hosting providers make installation quick and beginner-friendly.
In this guide, you’ll learn what WordPress is, why it’s the preferred platform for millions of bloggers, and how to install it in just a few simple steps.
What Is WordPress?
WordPress is a content management system (CMS) that allows you to create, manage, and publish content without needing to know how to code.
Today, it’s one of the most popular website platforms in the world because it’s flexible, beginner-friendly, and supported by thousands of themes and plugins.
Whether you want to start a personal blog, create a business website, or sell digital products, WordPress gives you the tools to grow.
Why Choose WordPress?
Many bloggers choose WordPress because it offers:
- Easy content management
- Thousands of customizable themes
- Powerful SEO features
- A large library of plugins
- Flexibility as your website grows
- A supportive global community
As a beginner, you’ll appreciate how easy it is to learn while still having room to expand your website over time.
Before You Install WordPress
Before you begin, make sure you have:
- A registered domain name
- A web hosting account
- Your hosting login details
Once you’ve completed these steps, you’re ready to install WordPress.
Step 1: Log In to Your Hosting Account
Start by logging into your web hosting dashboard.
Most hosting providers include a one-click WordPress installer, making the setup process simple and fast.
If you’re unsure where to find it, look for options like WordPress, Website, or Auto Installer in your hosting control panel.
Step 2: Start the WordPress Installation
Click the WordPress installer and follow the setup instructions.
You’ll usually be asked to:
- Select your domain name.
- Create an administrator username.
- Choose a secure password.
- Enter your email address.
Take your time during this step because these details will allow you to access your website dashboard later.
Step 3: Complete the Installation
After entering your information, click the installation button.
Within a few minutes, your hosting provider will finish installing WordPress automatically.
Once the installation is complete, you’ll receive a link to your WordPress login page.
Step 4: Log In to Your WordPress Dashboard
Visit your login page and enter your administrator username and password.
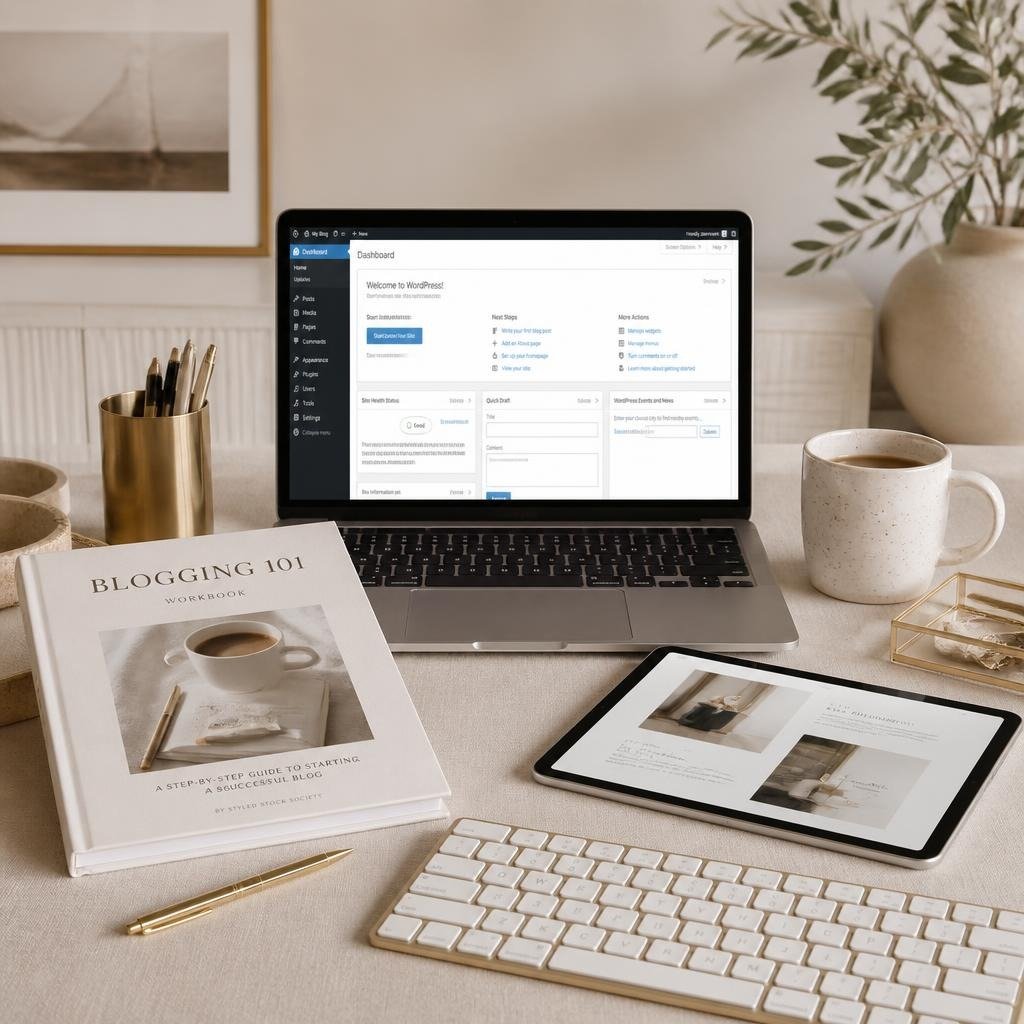
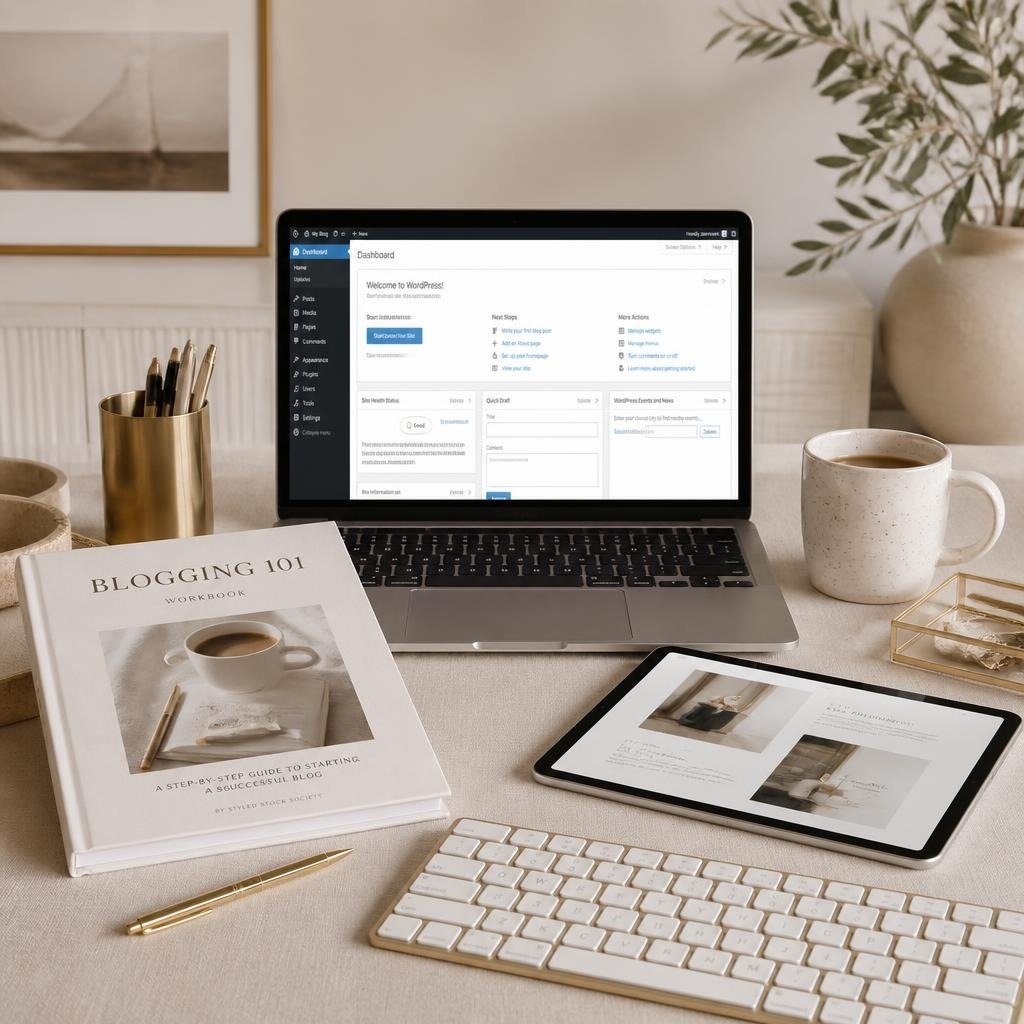
After logging in, you’ll arrive at the WordPress Dashboard, where you’ll manage your entire website.
Although it may look unfamiliar at first, you’ll quickly become comfortable as you begin creating content.
What Should You Do Next?
Now that WordPress is installed, it’s time to start building your website.
Your next priorities should include:
- Choosing a theme
- Installing essential plugins
- Creating your core pages
- Adjusting your website settings
- Publishing your first blog post
You don’t need to complete everything in one day. Instead, focus on learning one step at a time.
Build with Confidence
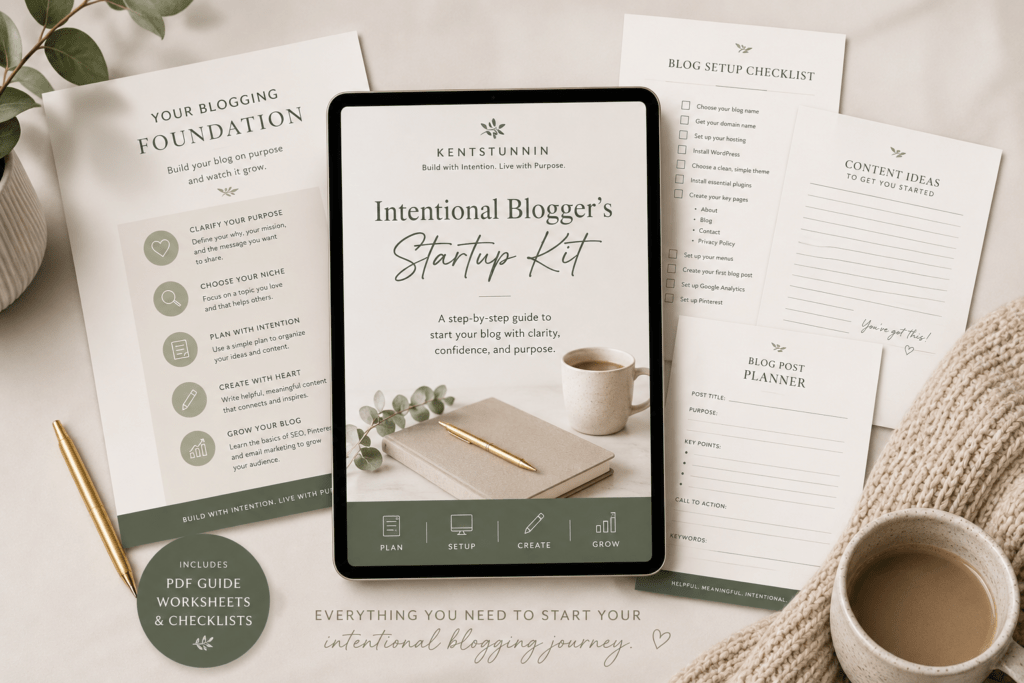
If you’re ready to build your blog, download the Intentional Blogger’s Startup Kit.
Inside, you’ll find practical worksheets to help you plan your content, organize your ideas, and create a strong blogging foundation with confidence.
Final Thoughts
Installing WordPress may feel like a big step, but it’s also one of the most rewarding parts of starting a blog.
Once your website is live, you can begin creating valuable content, connecting with your audience, and building your online presence.
Remember, every successful blogger started exactly where you are now—with a single website and a willingness to learn.
Selected posts title
-
30 Easy Breakfast Ideas for Slow, Intentional Mornings
There is something beautiful about starting the day without rushing. A warm cup of coffee, sunlight coming through…
-
How to Mix Interior Design Styles Without Making Your Home Look Chaotic
More Home Styling Inspiration Not sure what your home decor style is? Start with How to Find Your…
-
How to Find Your Home Decor Style: 8 Interior Styles Explained
Your Home Should Feel Like You Have you ever saved a beautiful home interior on Pinterest, only to…